~~posted by Jen
 |
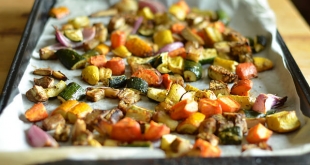
| Eggplant Parm Bites |
I am from Georgia, as most of you know by now. In the south, fried food is like your Momma’s love, it wraps you up in goodness and makes you feel all warm and fuzzy. OK not really. But we sure do love us some fried food! Better yet, fry it, dip it in something with mayonnaise or butter (or both), and we are happier than hogs in slop. (Gee, no wonder they say the south is the “Stroke Zone” because of all the Fried Fish Restaurants.)
I love fried food, but I am a lazy cook, as y’all should also know by now. I would not stand over a hot stove and fry things for love or money. (Well, the only exception to that statement being my protein latkes, but that’s only because I love nothing in the world better than a fried potato.)
So of course, I am all over the idea of oven-frying. I was a Shake ‘N Bake-r long before I had RNY. Post-op, I had to find a better way to indulge my love of all things oven-fried. Although some of you may know how to do this already, and Nik pretty much went through some of the steps in her Onion Rings and Zucchini Fries recipes, I still wanted to break it down step by step for those of you who may not know how to oven-fry. This will serve you well in times of craving crunchy, salty, fried things.
Depending on whether it’s meat or vegetables, I typically oven-fry at 350 (veggies) or 400 degrees (meat-usually chicken or pork chops). If you’re cooking chicken, follow Nik’s instructions for the greek yogurt marinade in her Chicken Nuggets recipe. You won’t regret it, even WLS friends who could not eat chicken can tolerate it once it’s marinated in the greek yogurt. I keep telling y’all that stuff has magical powers!
Here’s how to do it:
Oven-Frying Basics
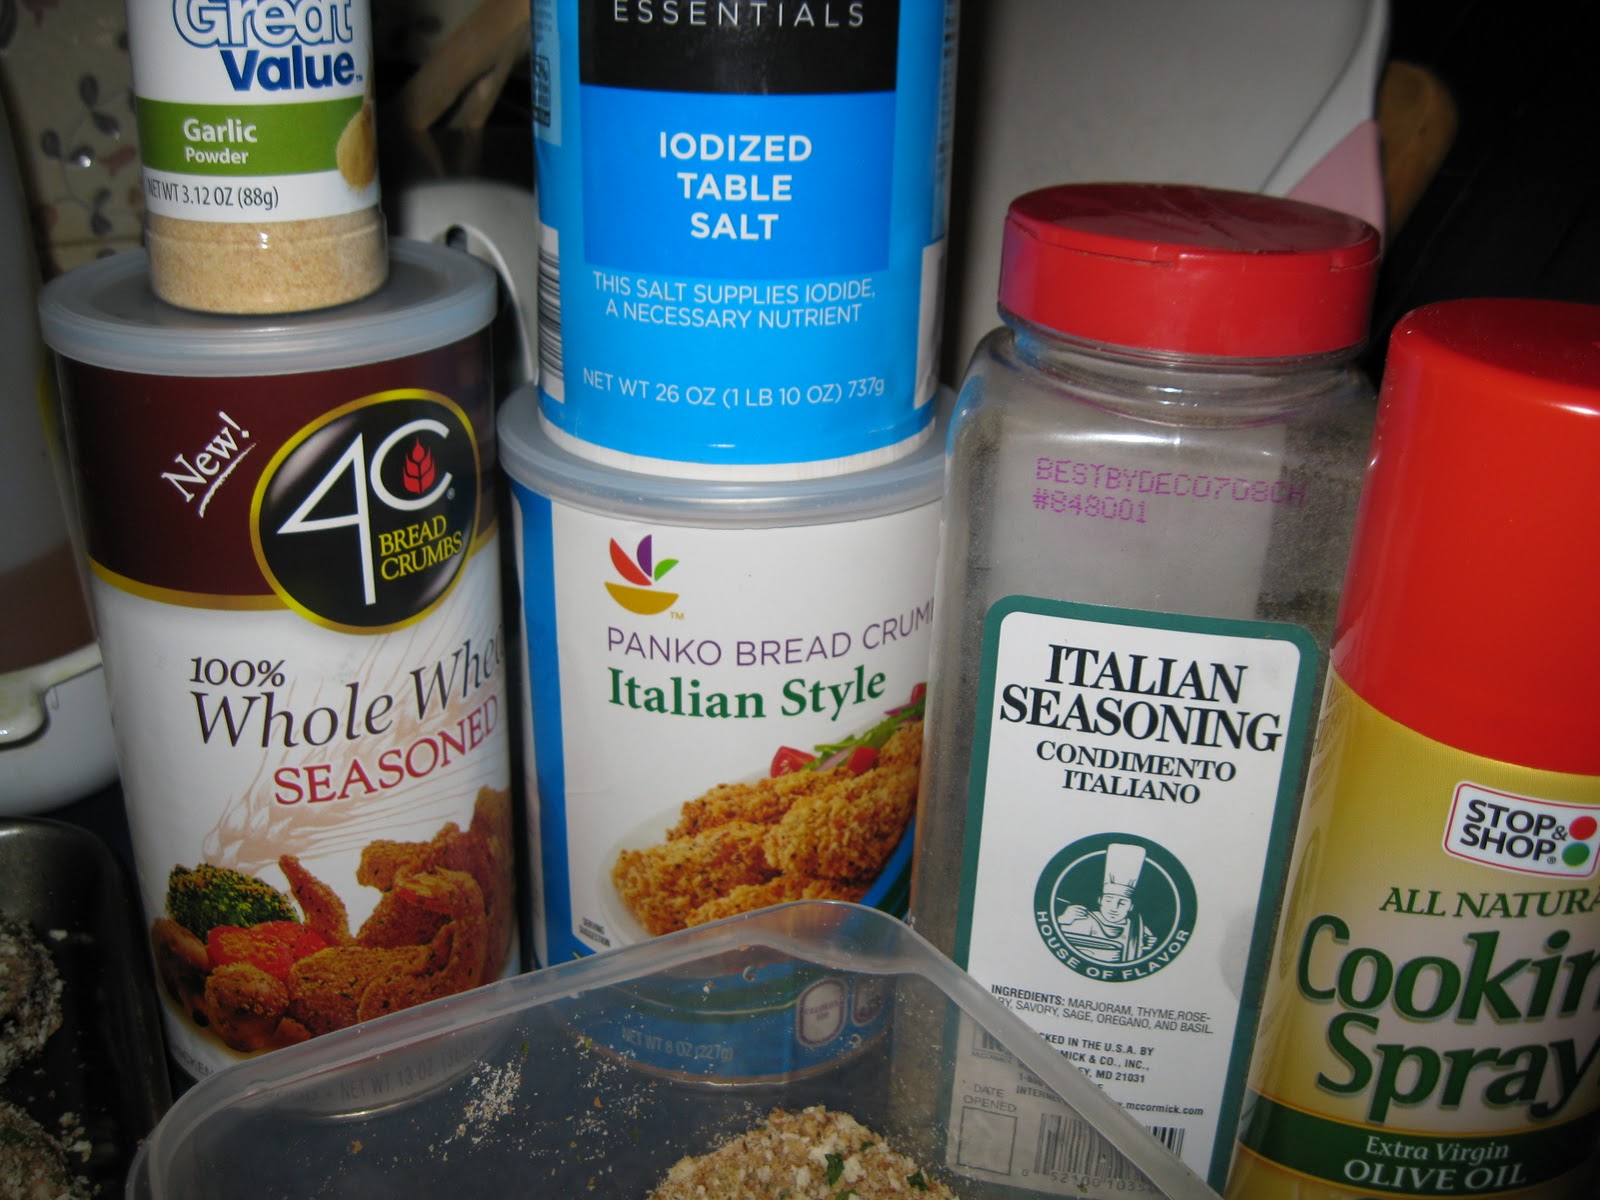
Note: If I am oven-frying chicken pieces on the bone or Green Tomatoes (Southern peeps Holla!) I dip them in a buttermilk wash with salt & garlic powder, then dredge in seasoned flour before the egg wash and breading steps. That’s only for things you want a bit more “coating” on. For everything else this is my methodology. Nik uses Fiber One for most of her breading. I am kinda Meh on the whole Fiber One thing–sometimes I like it and sometimes not, it depends on the day. That’s why I started using my homemade “shake n bake.”
 |
| Eggplant slices |
Step 1: Egg Wash: This egg wash (for eggplant slices) consists of 4 large eggs, about 1/4 cup of milk, 1 tsp salt, 1/2 tsp pepper, 1 tbsp Italian Seasoning, and 1 tbsp garlic powder. I change the seasonings depending on what I am oven-frying, adjust yours to taste. I don’t usually season the vegetable slices or meat pieces beforehand, because every step of my breading process is seasoned.
 |
| This is my homemade “shake n bake” ingredients |
Step 2: Breading Like I said before, in the past I used Shake N’ Bake. Now I use a combination of Panko (Japanese bread crumbs) and whole wheat bread crumbs. Some stores carry whole wheat Panko, but I have not had any luck finding it in my area. Nik says the Giant stores in Maryland carry it, but the last time she went to buy some they didn’t have any. I’m not going to freak out over a few bread crumbs, and really, neither should you.
You CAN use a ziptop storage bag for the breading, but I prefer a big plastic rectangular bowl. I like being able to make sure the breading completely coats each piece with no blank spots. For 2 large eggplants (about 30 slices) I used this mixture:
1 cup Panko
1 cup Italian Seasoned Whole Wheat Breadcrumbs
1 tbsp Garlic powder
1 tbsp Onion powder
2 tbsp Italian seasoning
(For chicken pieces, I omit the Italian seasoning and add 1 tsp Seasoned Salt, 1/2 teaspoon black pepper, and a pinch of cayenne pepper for some kick. For fish I do the same, just substitute Old Bay for the cayenne and add a pinch of dill.) Adjust the amounts based on how much breading you need.
 |
| Eggplant slice being breaded |
Step 3: Spraying It On! Spray a jelly roll pan with cooking spray and put it close to your breading station. Once each piece of veggies or meat is coated in the breadcrumb mixture, place it on the pan. It’s okay if the pieces are close together, they don’t need much room in between. Fill the pan, then spray each piece of food with the same cooking spray. (I usually use the Olive Oil or Butter Flavor, but use what you like.) This will help it brown evenly and make it a bit crunchier so it really tastes fried.
 |
| First few pieces on the pan |
 |
| All sprayed and ready for the oven! |
Step 4: Bring on the heat! Place the pan in the pre-heated oven. Boneless chicken breasts usually take about 20 minutes or so at 400 degrees, as do boneless pork chops. The eggplant shown here was baked at 350 degrees for 15 minutes, then I flipped it over, sprayed the other side, and baked it for an additional 10 minutes. Cooking times will vary based on the type of food and the size.
I made a big pan of Eggplant Parmesan (recipe to follow later this week) for the resident vegetarian. When I was making it, I set aside the smallest pieces to make the cutesy little “eggplant parm bites” shown at the top of the page for a snack. All I did was top them with a teaspoon of marinara sauce and a pinch of Italian blend cheese. Microwave for 15 seconds or so to melt the cheese.
If you want to make your whole panful of eggplant into parm bites, just top each slice with a spoon of sauce, sprinkle on some cheese, and put them back in the oven for a couple minutes. Perfect party bite! There you have it. Crunchy, salty pseudo-fried goodness. YUM!