You all have Amy to thank for this cookie.
Amy was a member of a Bariatric Foodie Holiday Cooking Club I did once. In the club, we’d been doing cooking demos where I showed folks how to switch up holiday favorites. By far, the one club members seemed most excited about was to explore cookies! To make it even more meaningful I asked members to tell me what kind of cookies they’d like to learn to modify, and then I researched recipes for them and then we tried those swaps out during a live, interactive demonstration. It was SO fun!
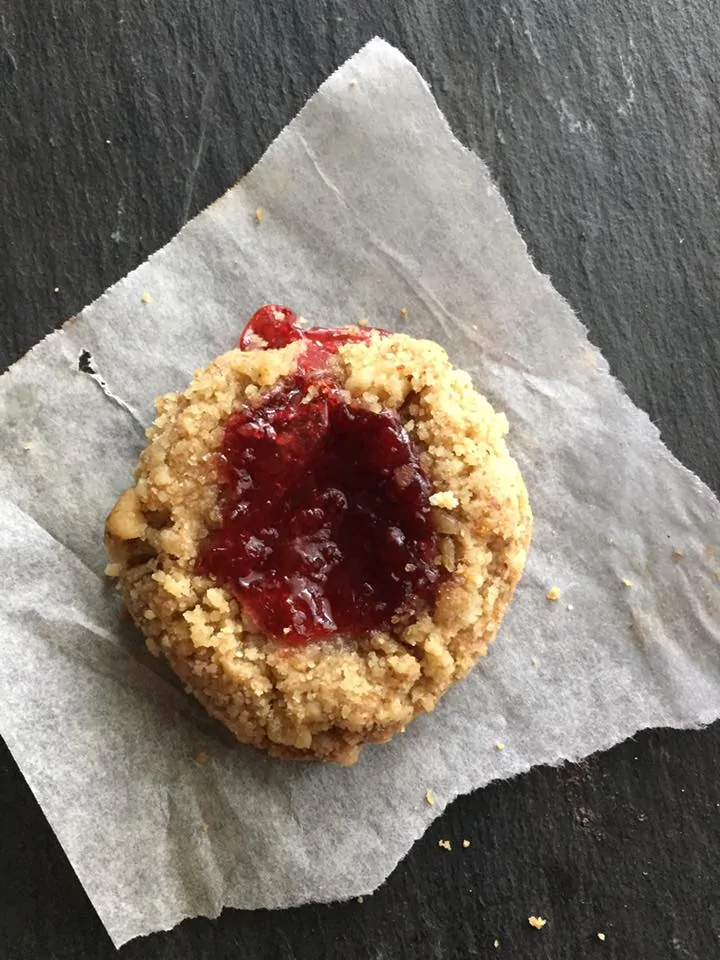
Anyhoo…back to Amy…she asked for a thumbprint cookie. I love thumbprint cookies. But they made me nervous to try to swap because:
- The consistency really does rely a lot on butter, which we all know is fatty and caloric
- White flour…cuz…white flour! I had tried making a cookie recipe just days before with coconut flour and…that did not end well.
But I did some research and I found out a few interesting things:
- Almond flour is a great sub for white flour in baking (but there are some considerations, which I’ll go over below).
- You can use cream cheese in place of butter in cookie recipes. (I know, right?!? I was excited too!)
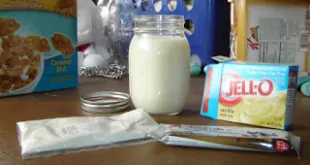
So armed with that info, I used this recipe as my base and set about making a Nik-friendly thumbprint cookie.
And got one essential thing WRONG!
If you get nothing else from this post, Foodies, get this. For almond flour, because it has extra moisture in it, you have to use more almond flour than the recipe calls for in white flour. What worked for me was a 2:1 ration. So if a recipe calls for 1 c. flour, use 2 c. almond flour.
For my initial try of this recipe (in the cooking demo) I used the same amount of almond flour as the recipe called for white flour and there were two noticeable results: first, the cookie took forever to bake at all. The recipe calls for baking it 8 minutes before doing a thumbprint and then baking again for 10-12 minutes to set. That first time baking it, I did about 15 minutes before the thumbprint (and it was still fairly doughy) and then an additional 15-ish minutes before I finally gave up and removed the thing from my oven. It was done on the outside but doughy on the inside. (Incidentally, I should note nobody in my family minded this!)
Also, I think I would skip the crumbled walnuts on the outside. They don’t really serve any purpose and add a lot of extra fat to the equation. But they were yummy.
(And since this is the place where most folks ask about the nutrition information, I will remind you that I’m not giving it to you…and here’s why!)
Play around with this recipe, Foodies. While I am still of the mind that cookies are never going to be health food, this recipe makes a small batch, uses improved ingredients, and is perfect for sharing. (y’know…to keep us all honest!)
Want all the cookies?
There are lots more Bariatric Foodie no-flour, low-sugar cookie recipes and you can get them all in one handy download! Order Cookies! The Complete Bariatric Foodie Cookie Collection, a PDF e-book featuring every cookie recipe from every collection! Proceeds from the sale of this cookie book help keep Bariatric Foodie (and the cookie recipes) flowing!

- 1/2 c. cream cheese (can use reduced-fat but not fat free!)
- 1/4 c. brown sugar substitute (I used Splenda Brown Sugar blend)
- 1 egg white
- 1/2 tsp. vanilla extract
- 2 c. almond flour
- 1/4 tsp. salt
- 1/4 c, finely chopped walnuts (optional)
- 2/3 c. low-sugar or sugar-free jelly
- Preheat oven to 325 degrees and line cookie sheets with parchment.
- Separate egg and blend cream cheese, sugar sub blend, and egg white.
- Add vanilla, almond flour and salt and mix well.
- Refrigerate dough about 15 minutes so it rolls into balls.
- Roll dough into balls and drop into egg white then roll in walnut, if using.
- Place cookies on sheet about two inches apart. Bake for about 10 minutes.
- Remove from oven and press a large thumbprint into each cookie and fill it with the jam.
- Bake for an additional 15 minutes or so. Remove from oven and allow to cool on baking sheet (to ensure they are all the way done).